
altering a vintage dress
When I fell down the sustainable rabbit hole, I set a personal mission to create my own sustainable wardrobe. I realise this is going to take an extremely long time but I get so much more joy buying vintage and secondhand and even more when I am creating or altering something to make it just for ‘me’.
This is another dress that I have tackled lately and I’m really pleased with how it turned out!

the dress
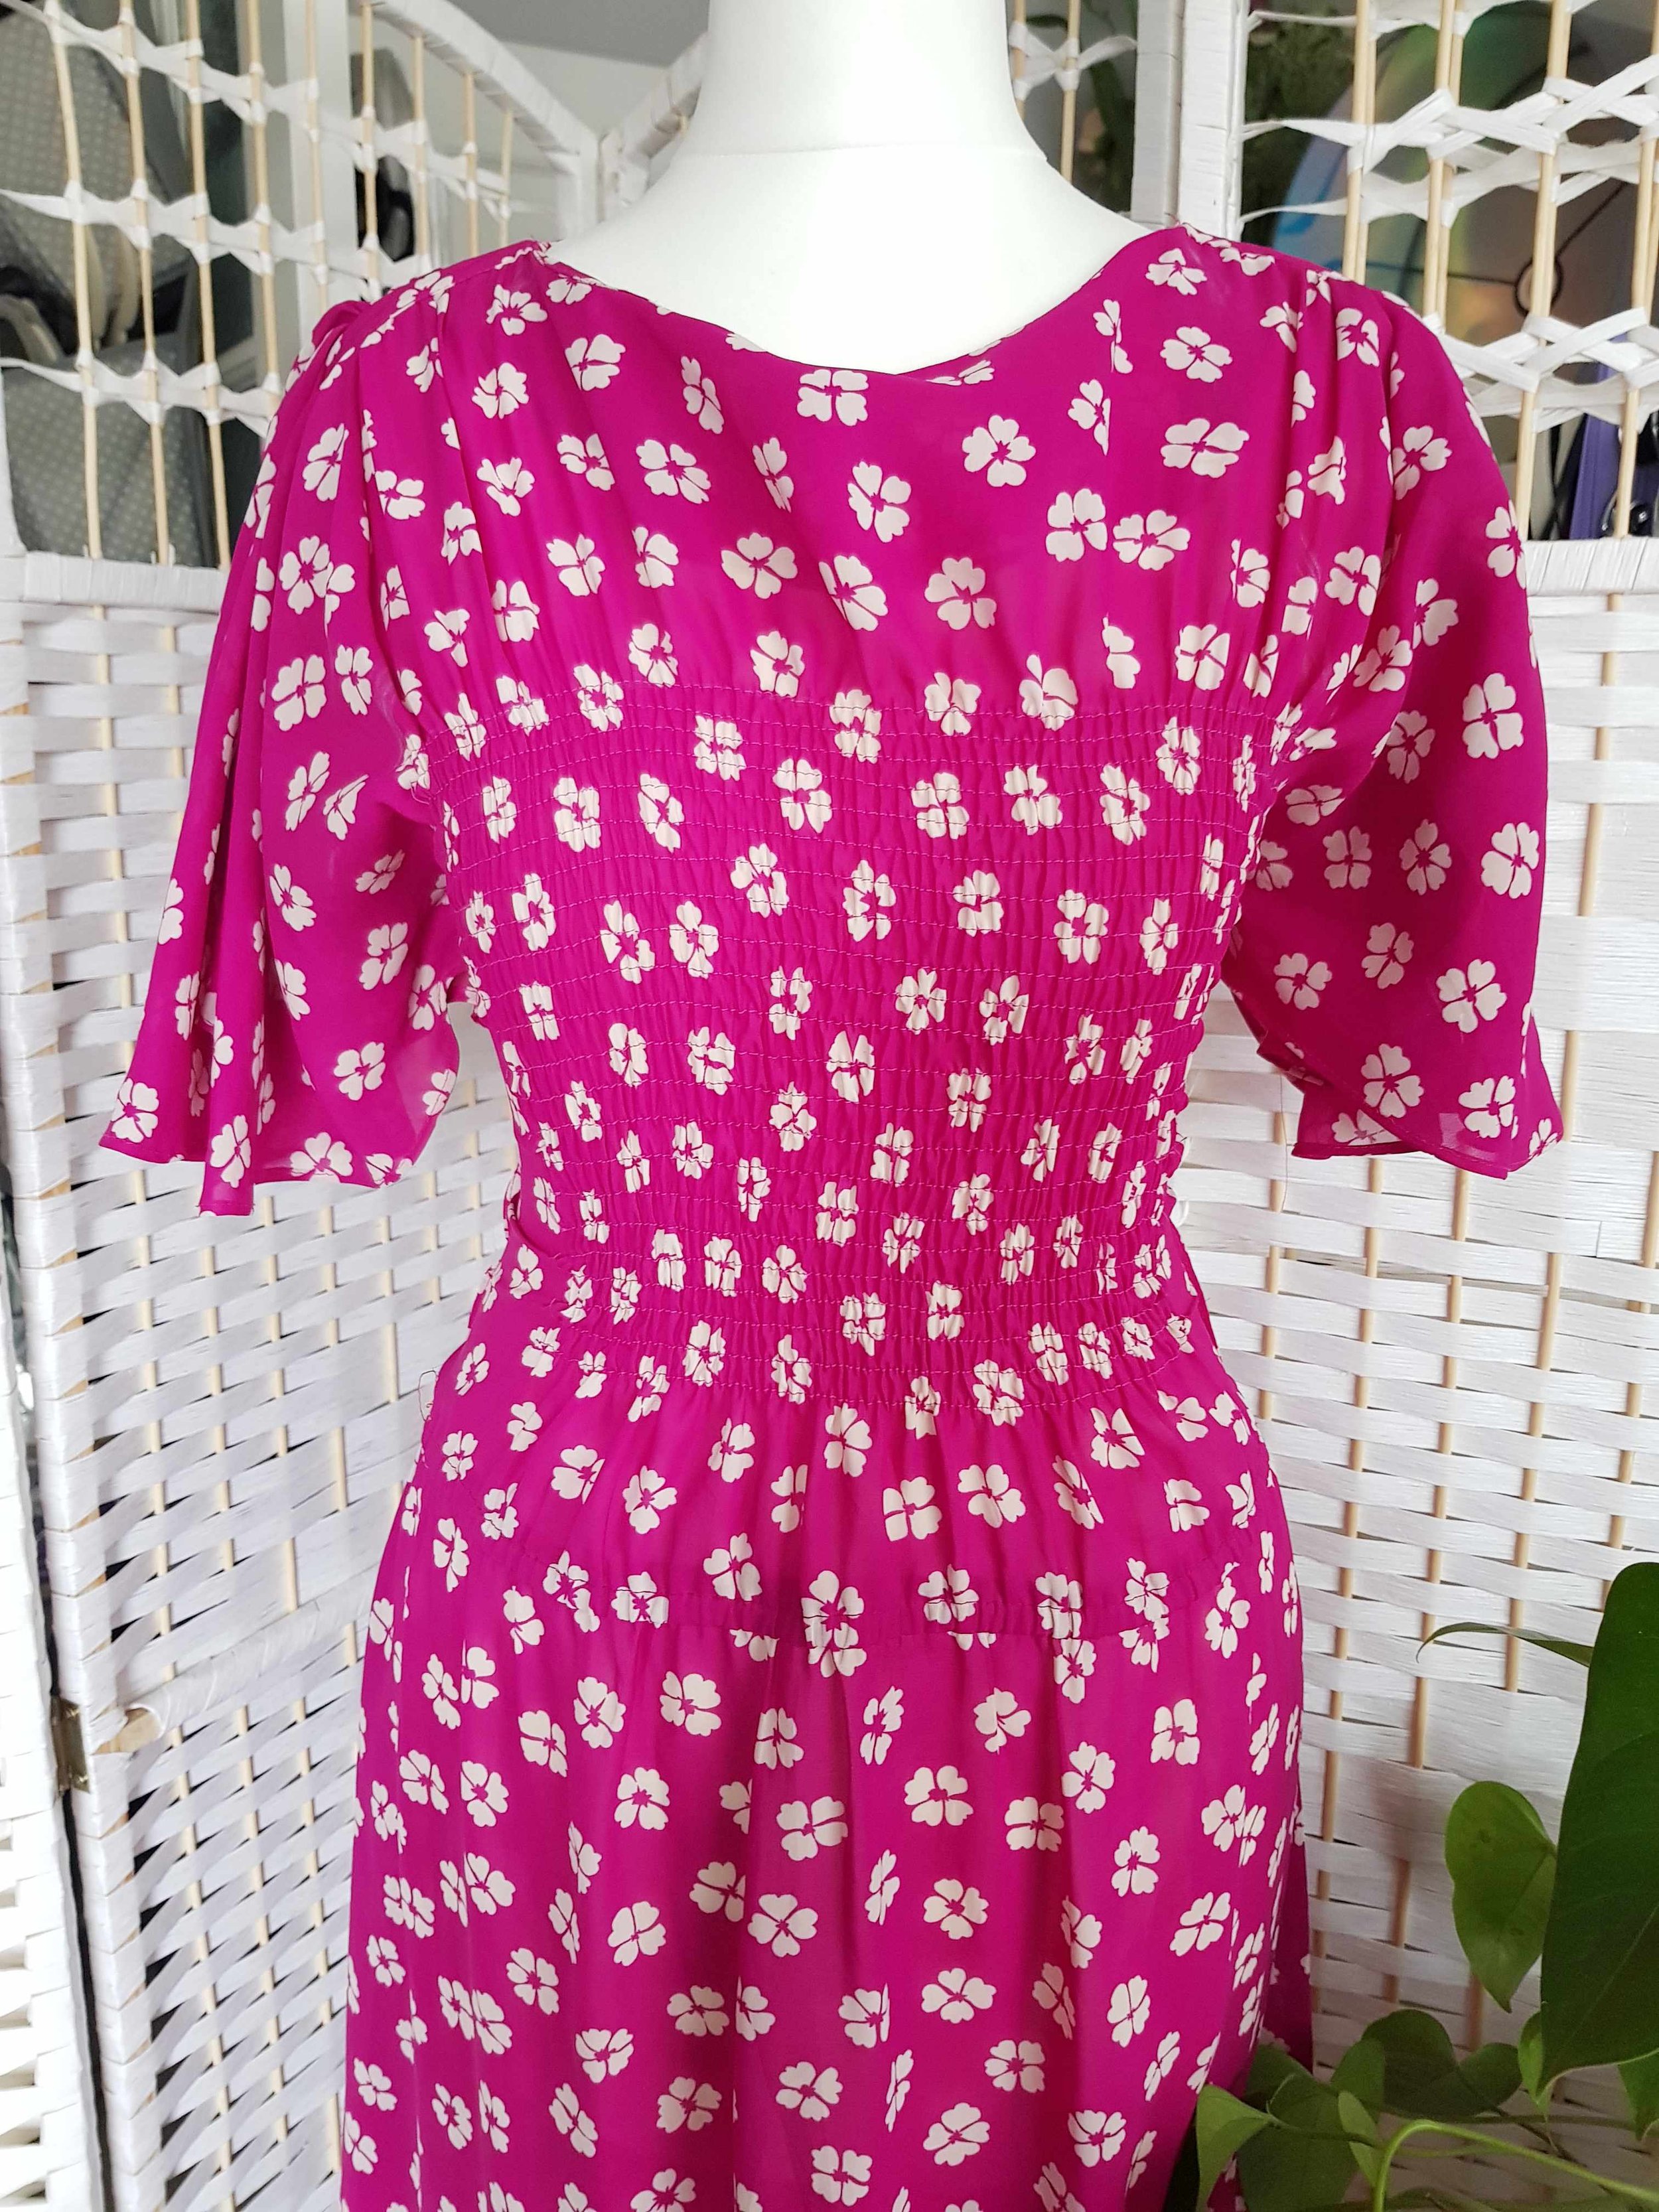
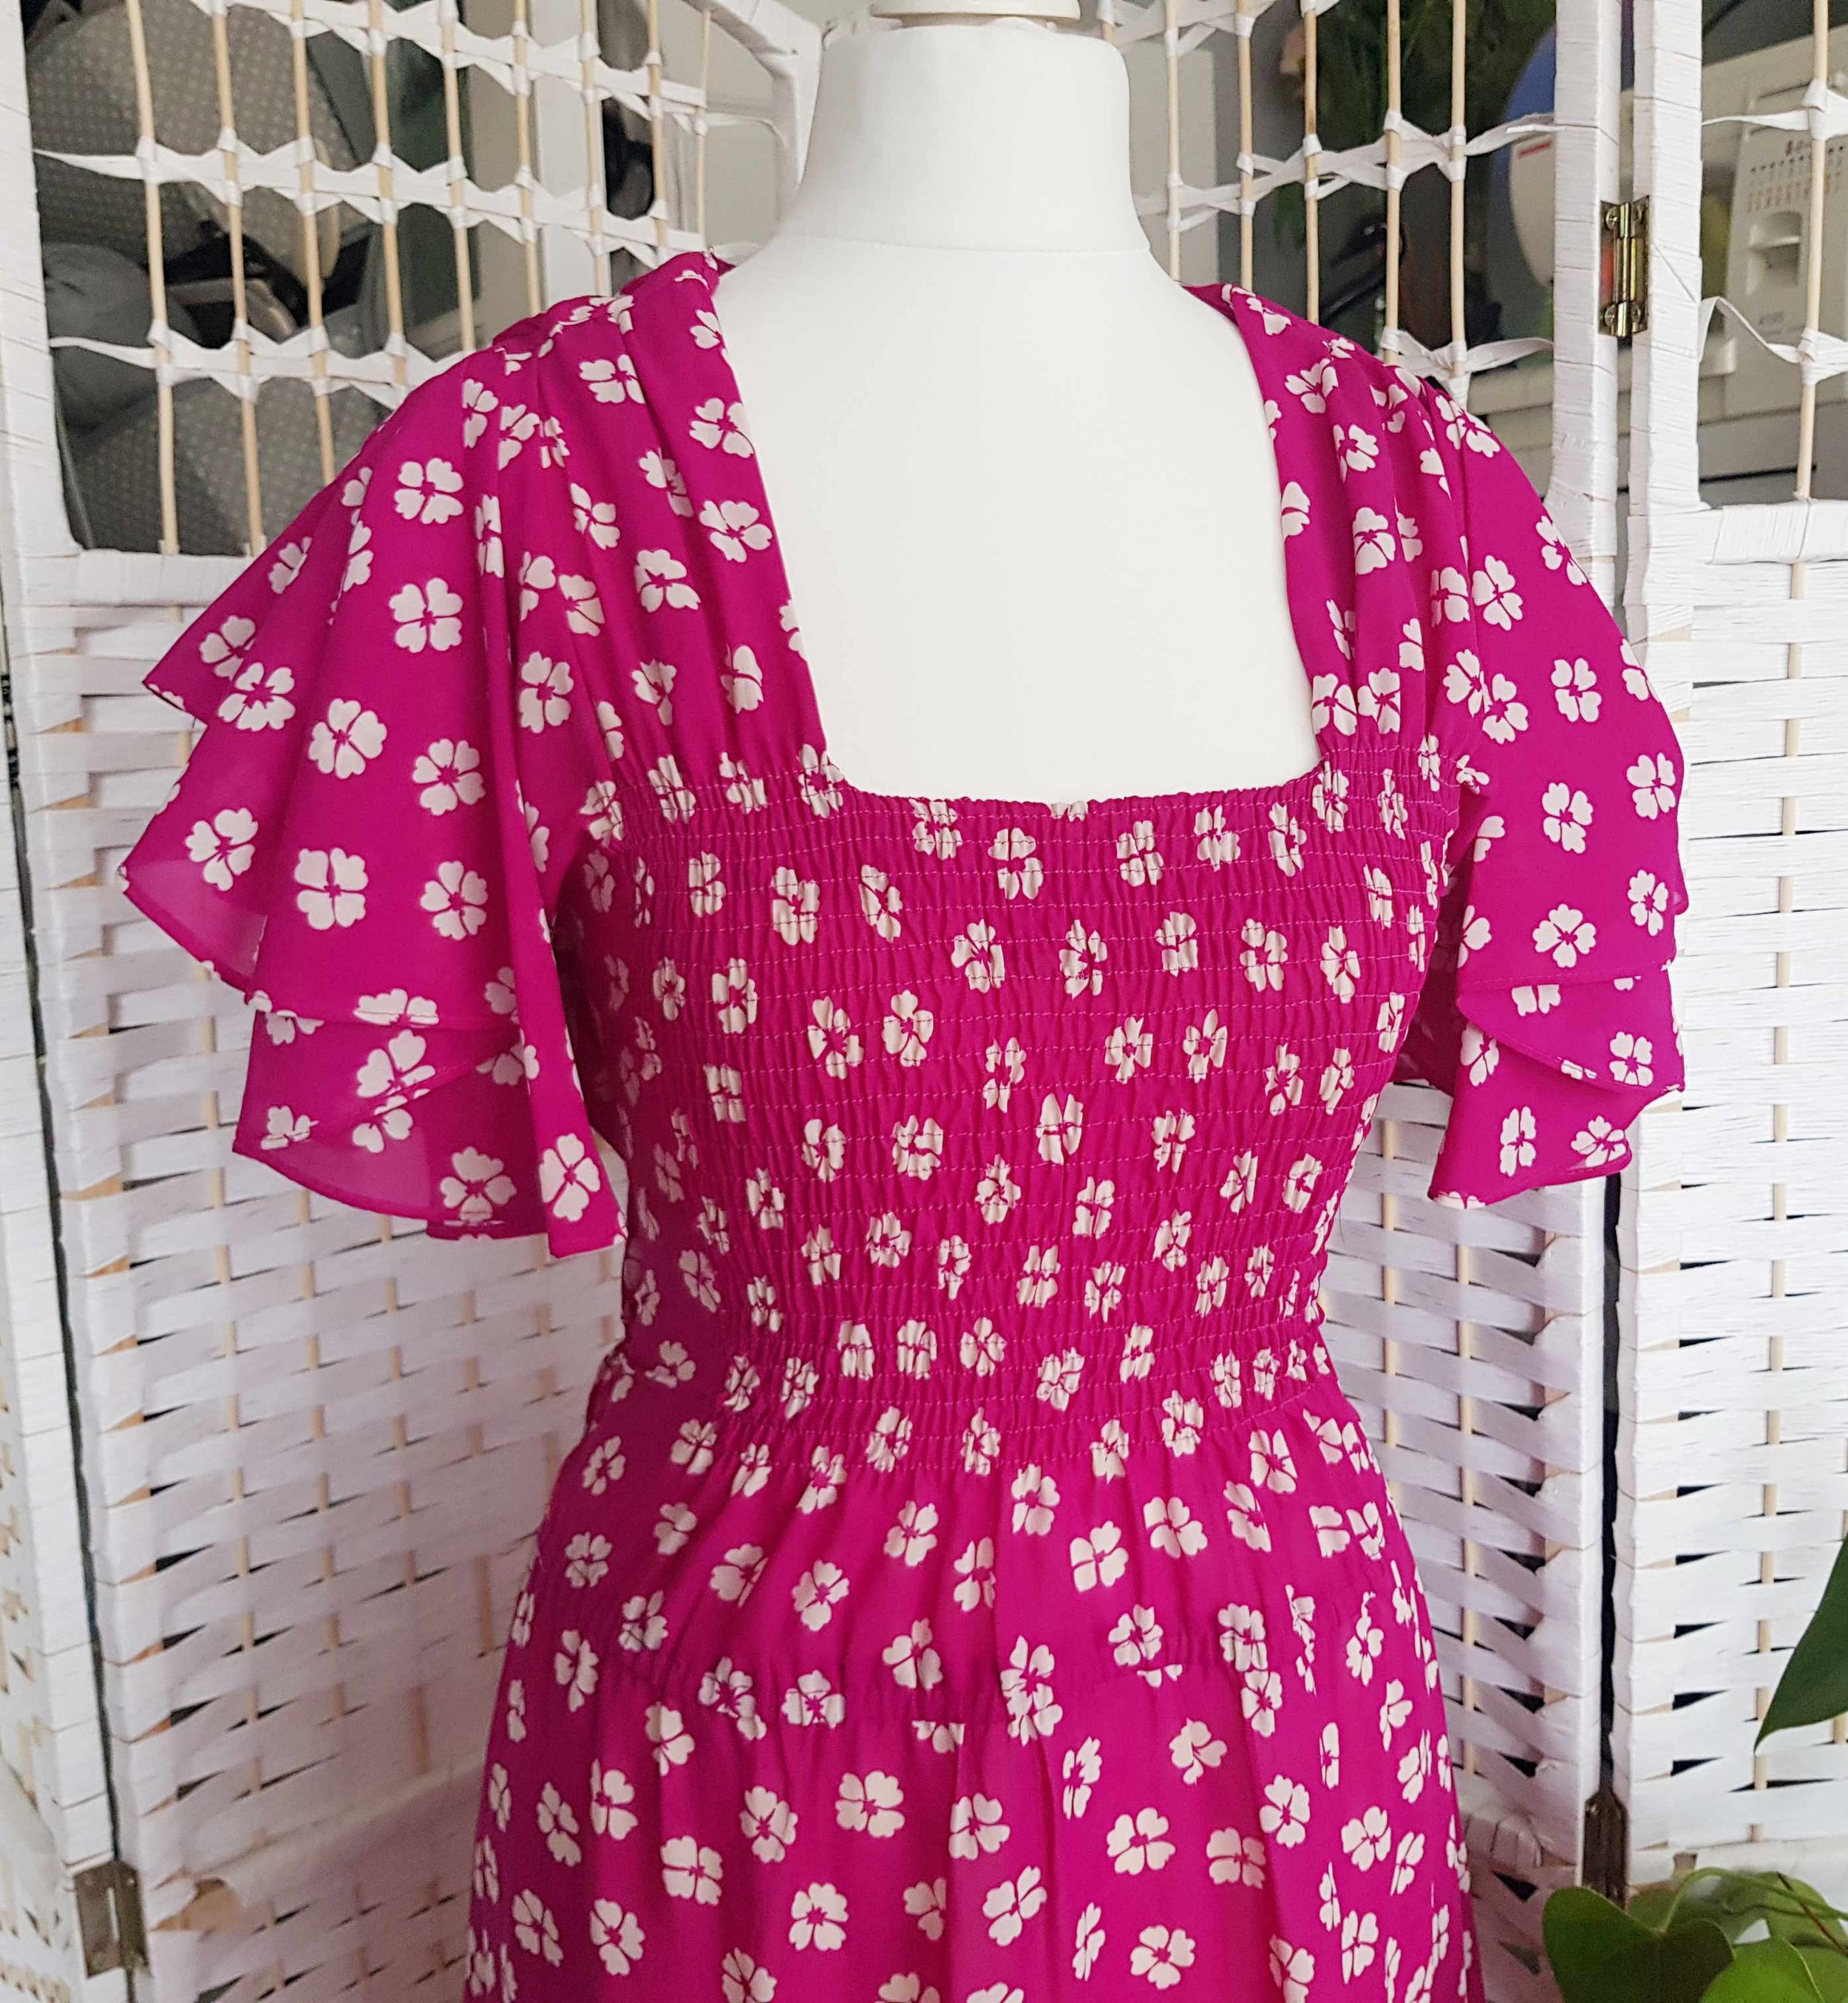
I can’t remember exactly where I got this dress, but it would’ve most likely been from a charity shop. I loved the print as I can be really fussy when it comes to a floral print as I feel a lot of what is ‘out there’ either looks too naïve, or too mature… this was just the perfect one.
In my quest to also have a variety of colours in my wardrobe, I felt that this fuchsia was a great shade for me.
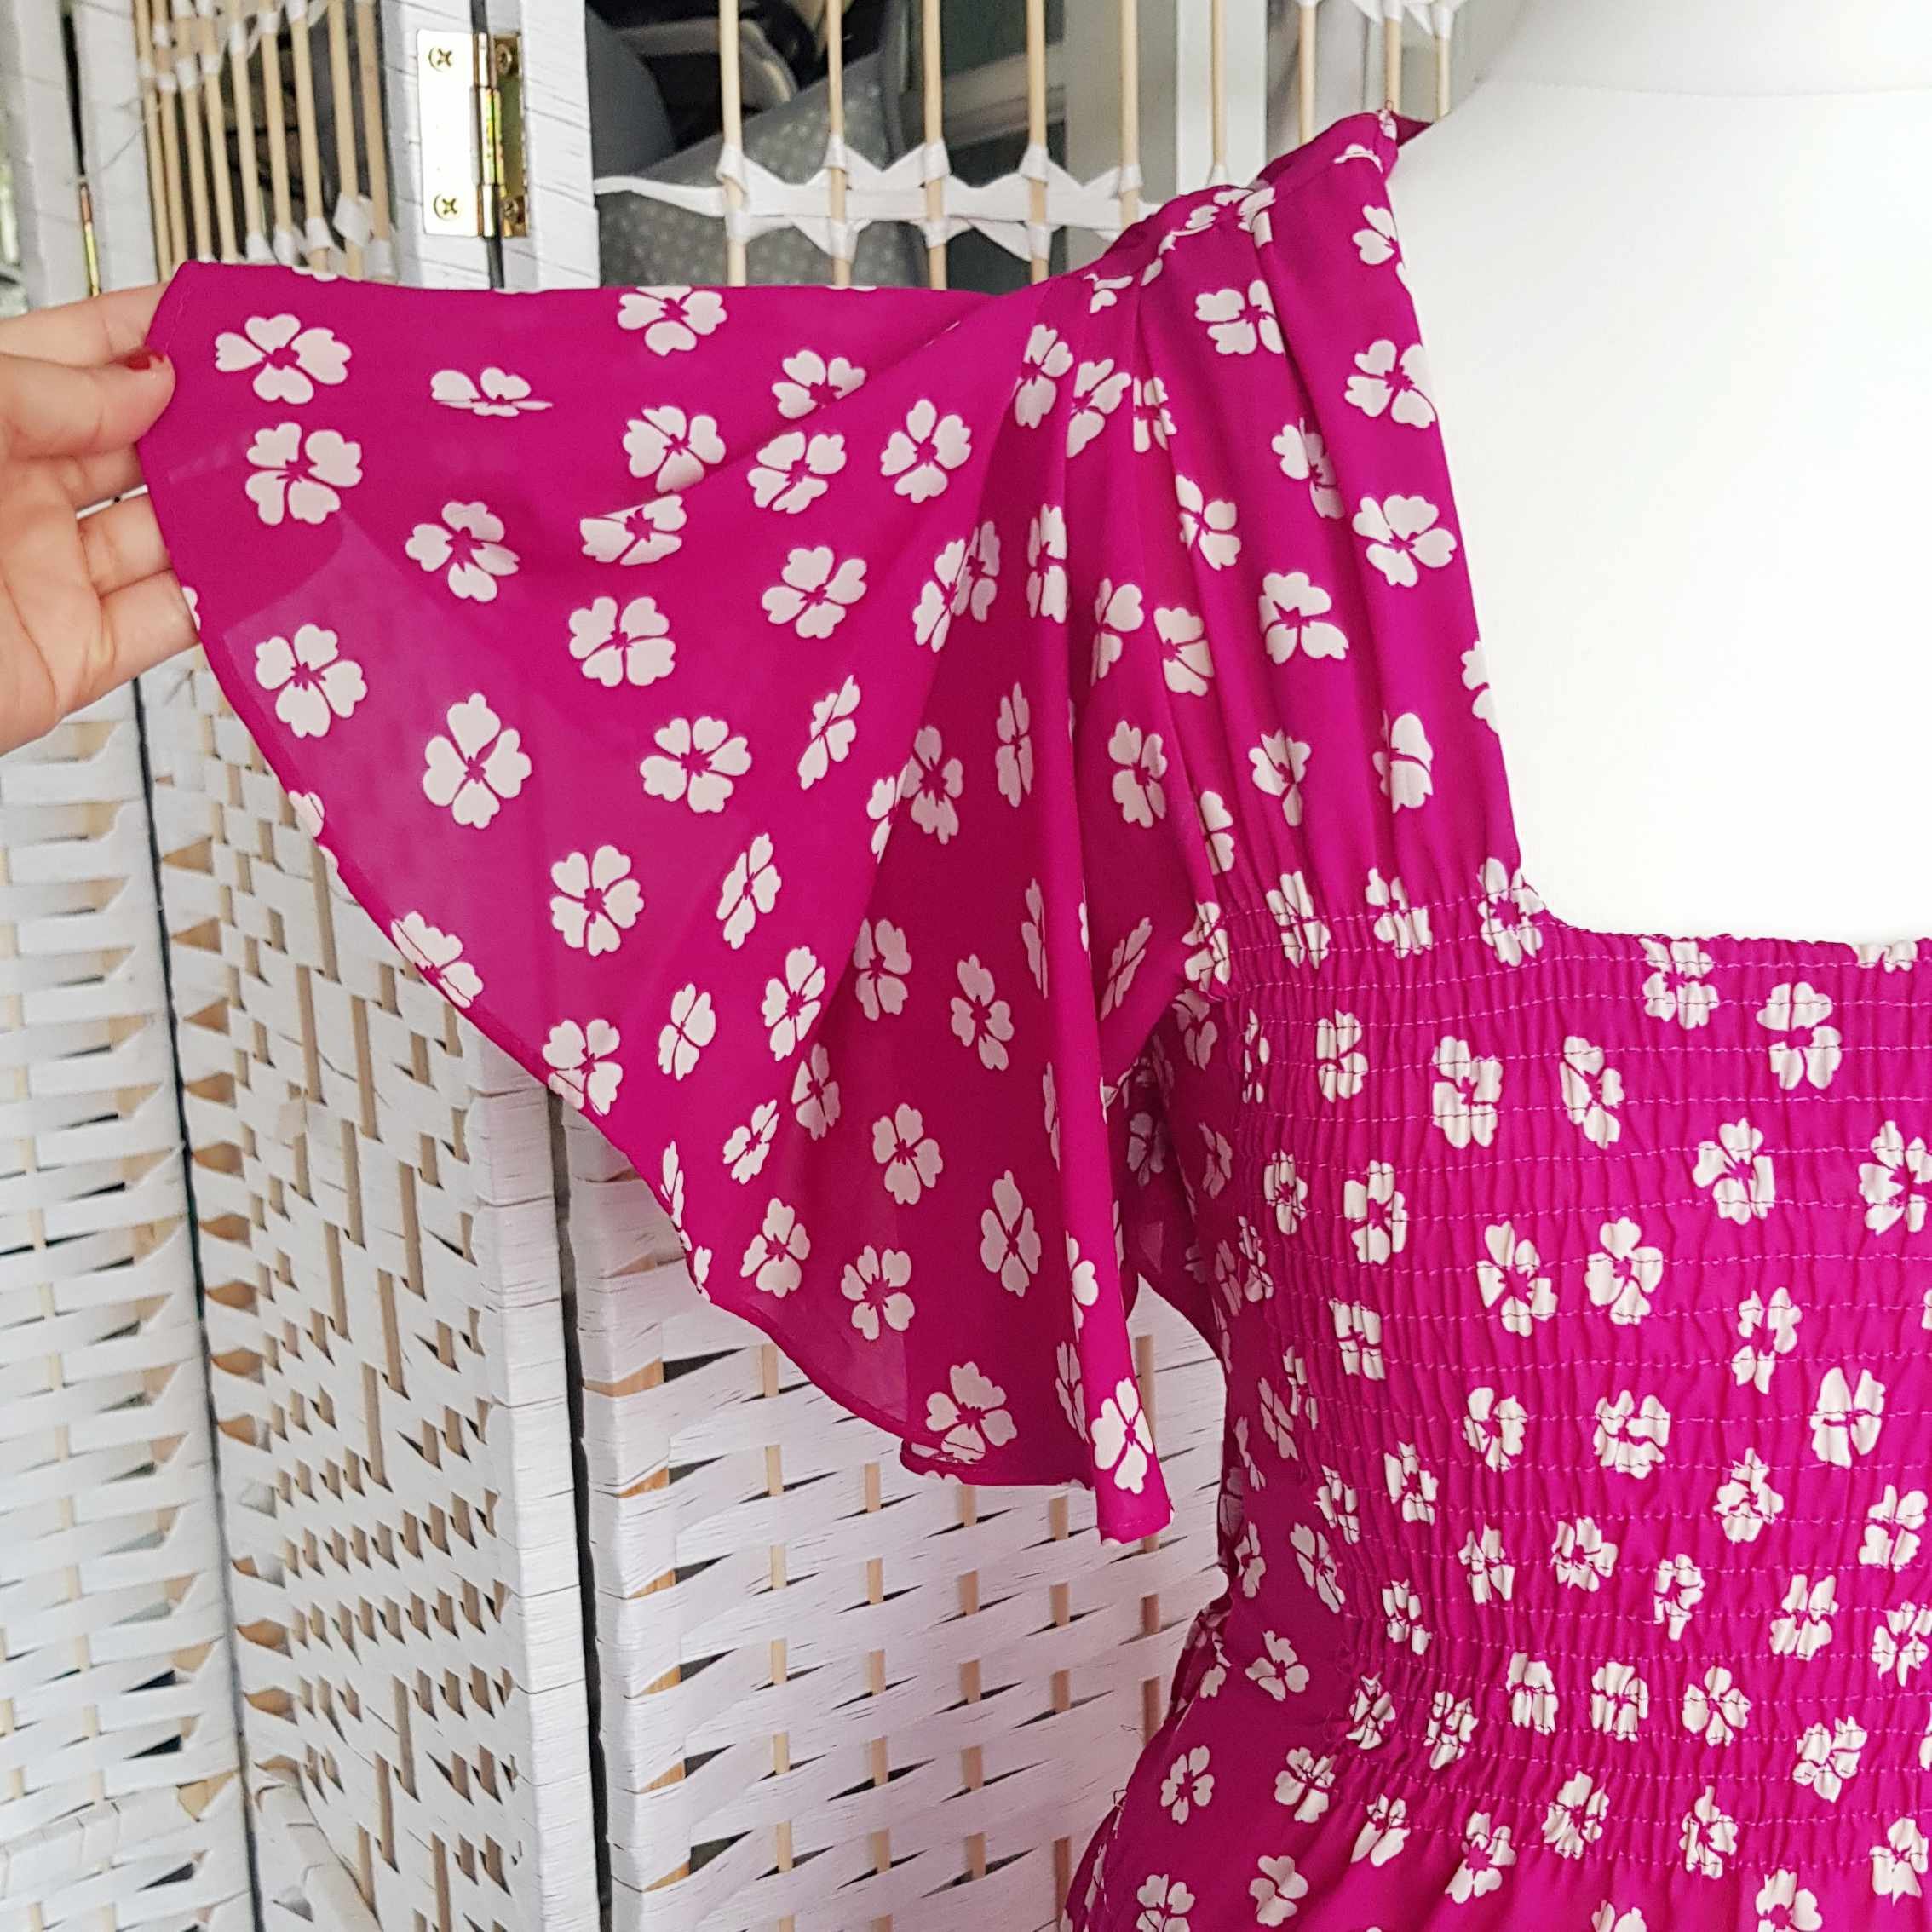
The elastication in the waist was broken but I didn’t mind that it sat on my hips and it had these beautifully draped sleeves.
The sizing was for a UK 14 (I am 10-12) so it didn’t entirely fit right either. How it is shown in the photo, isn’t how it stayed! The shoulders would move because of the weight of the draping, so sometimes it would fall to the back, or crumple at the front around my neckline. I was wearing it a lot for Zoom meetings as I didn’t have to move so much, so it was fine for a while!
However, after booking a holiday to Portugal with my husband and pulling this out as an option to take, I HAD to finally tackle some of the issues!
the alterations
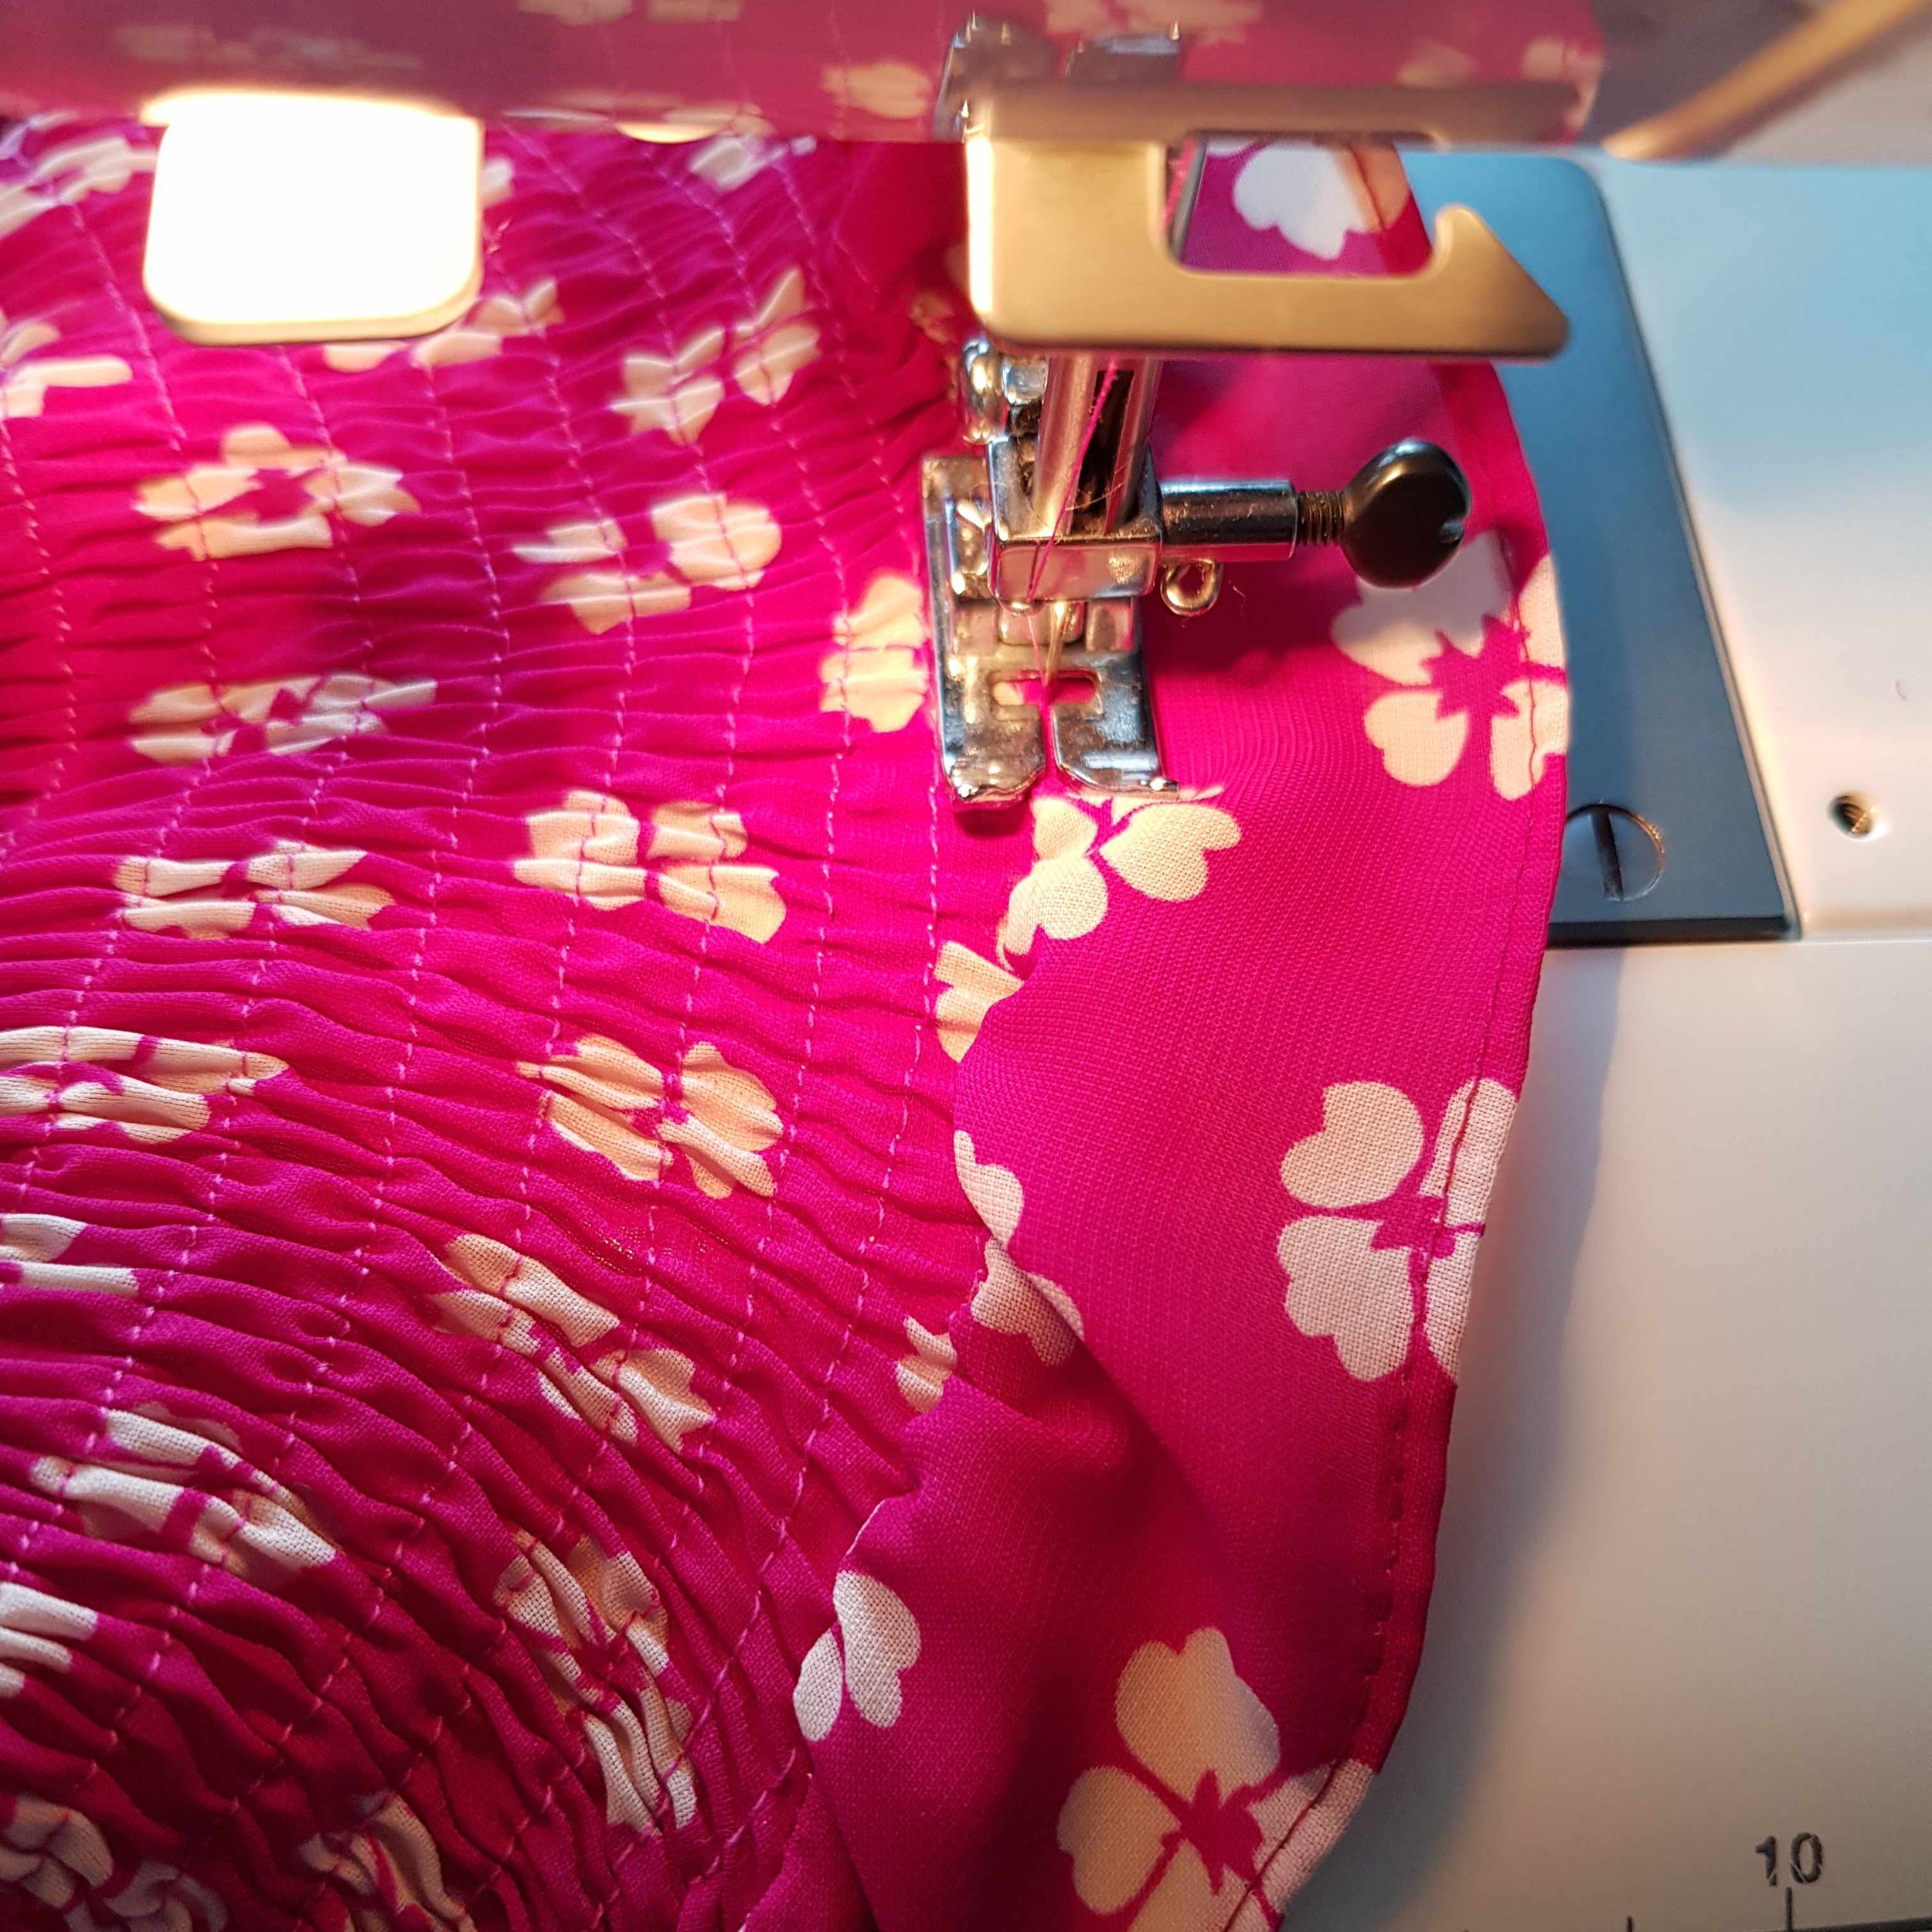
I’ve always loved shirring and felt this was the perfect project to apply it to. Shirring works best on lightweight fabrics and although at first, I was nervous about sewing the dress which was a slippery crepe fabric, it was actually totally fine!
I measured down from the shoulder point, to the start of where I wanted to do my shirring and shirred the first row. This acted as my guide for the rest of the bodice.
I chose shirring as the dress was too big for me and this would be a fun way of reducing the size, while still making it comfortable to wear. I think, as I’ve gotten older, I have really steered clear from items of clothing that are rigid in their silhouette and having no ‘give’ for weight fluctuations.
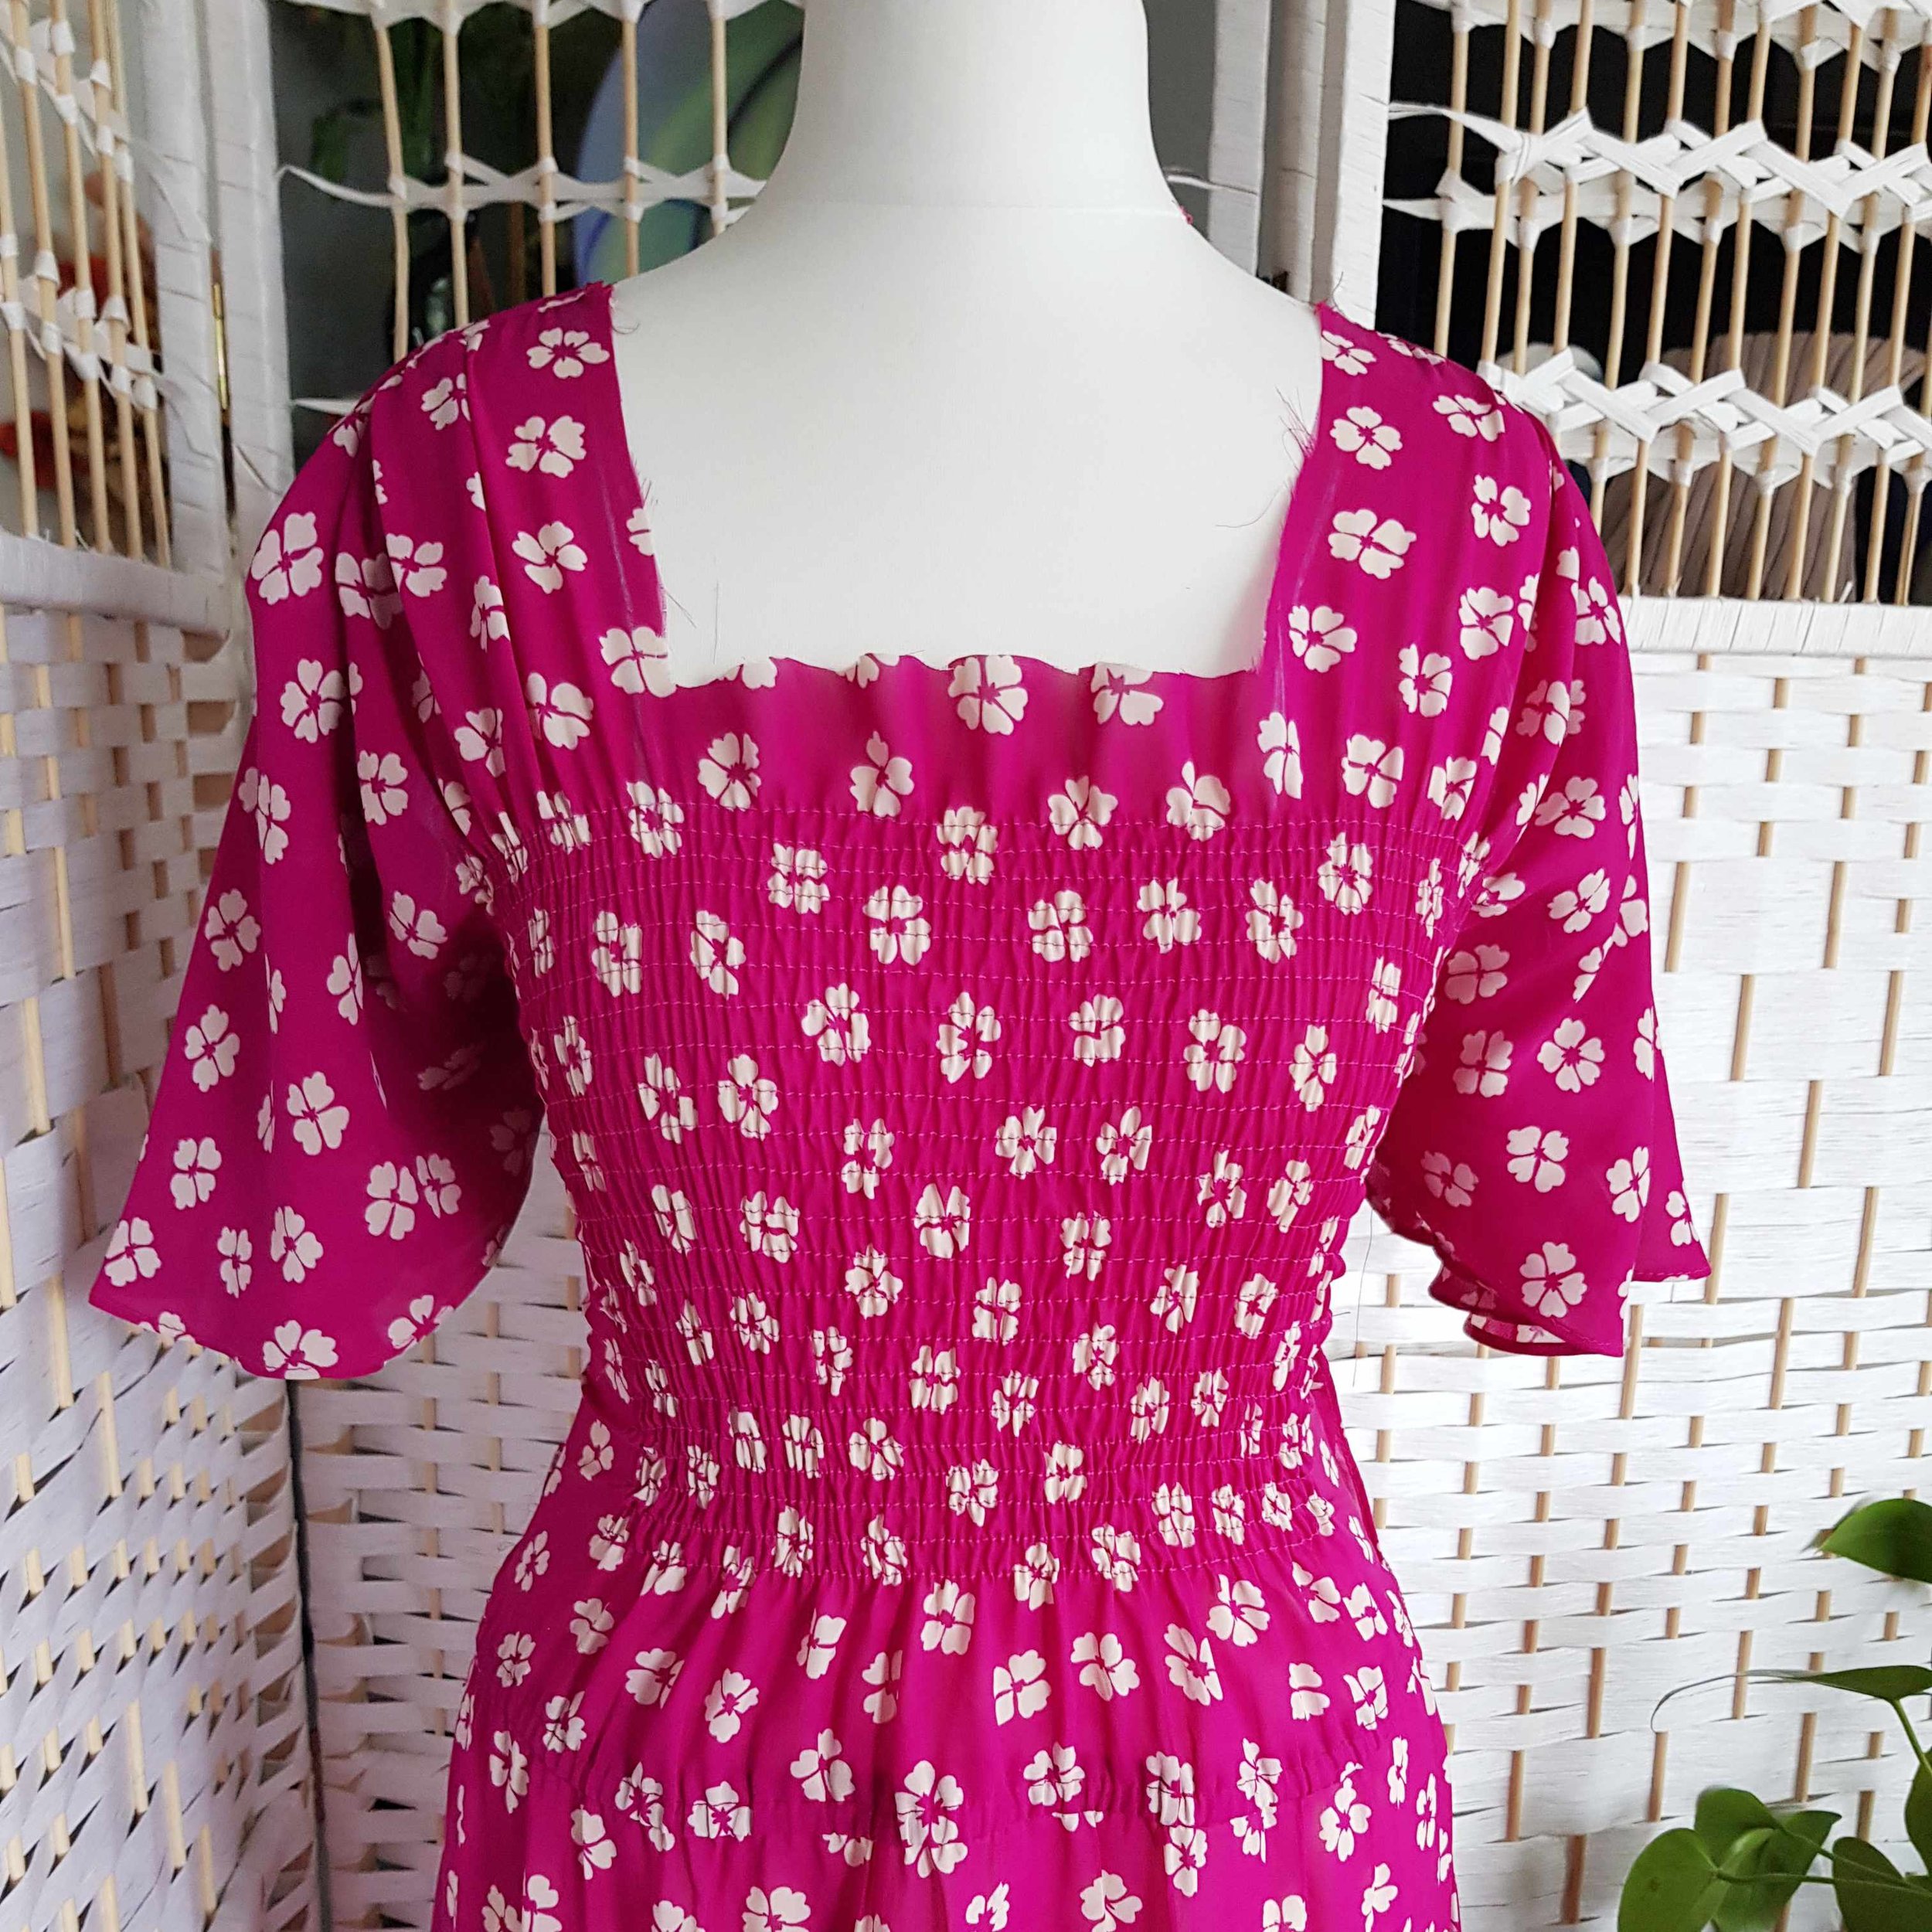
The first, top photo is when only the bodice was shirred. The next photo is when I decided to totally open up the neckline which of course had to also include seam allowance!
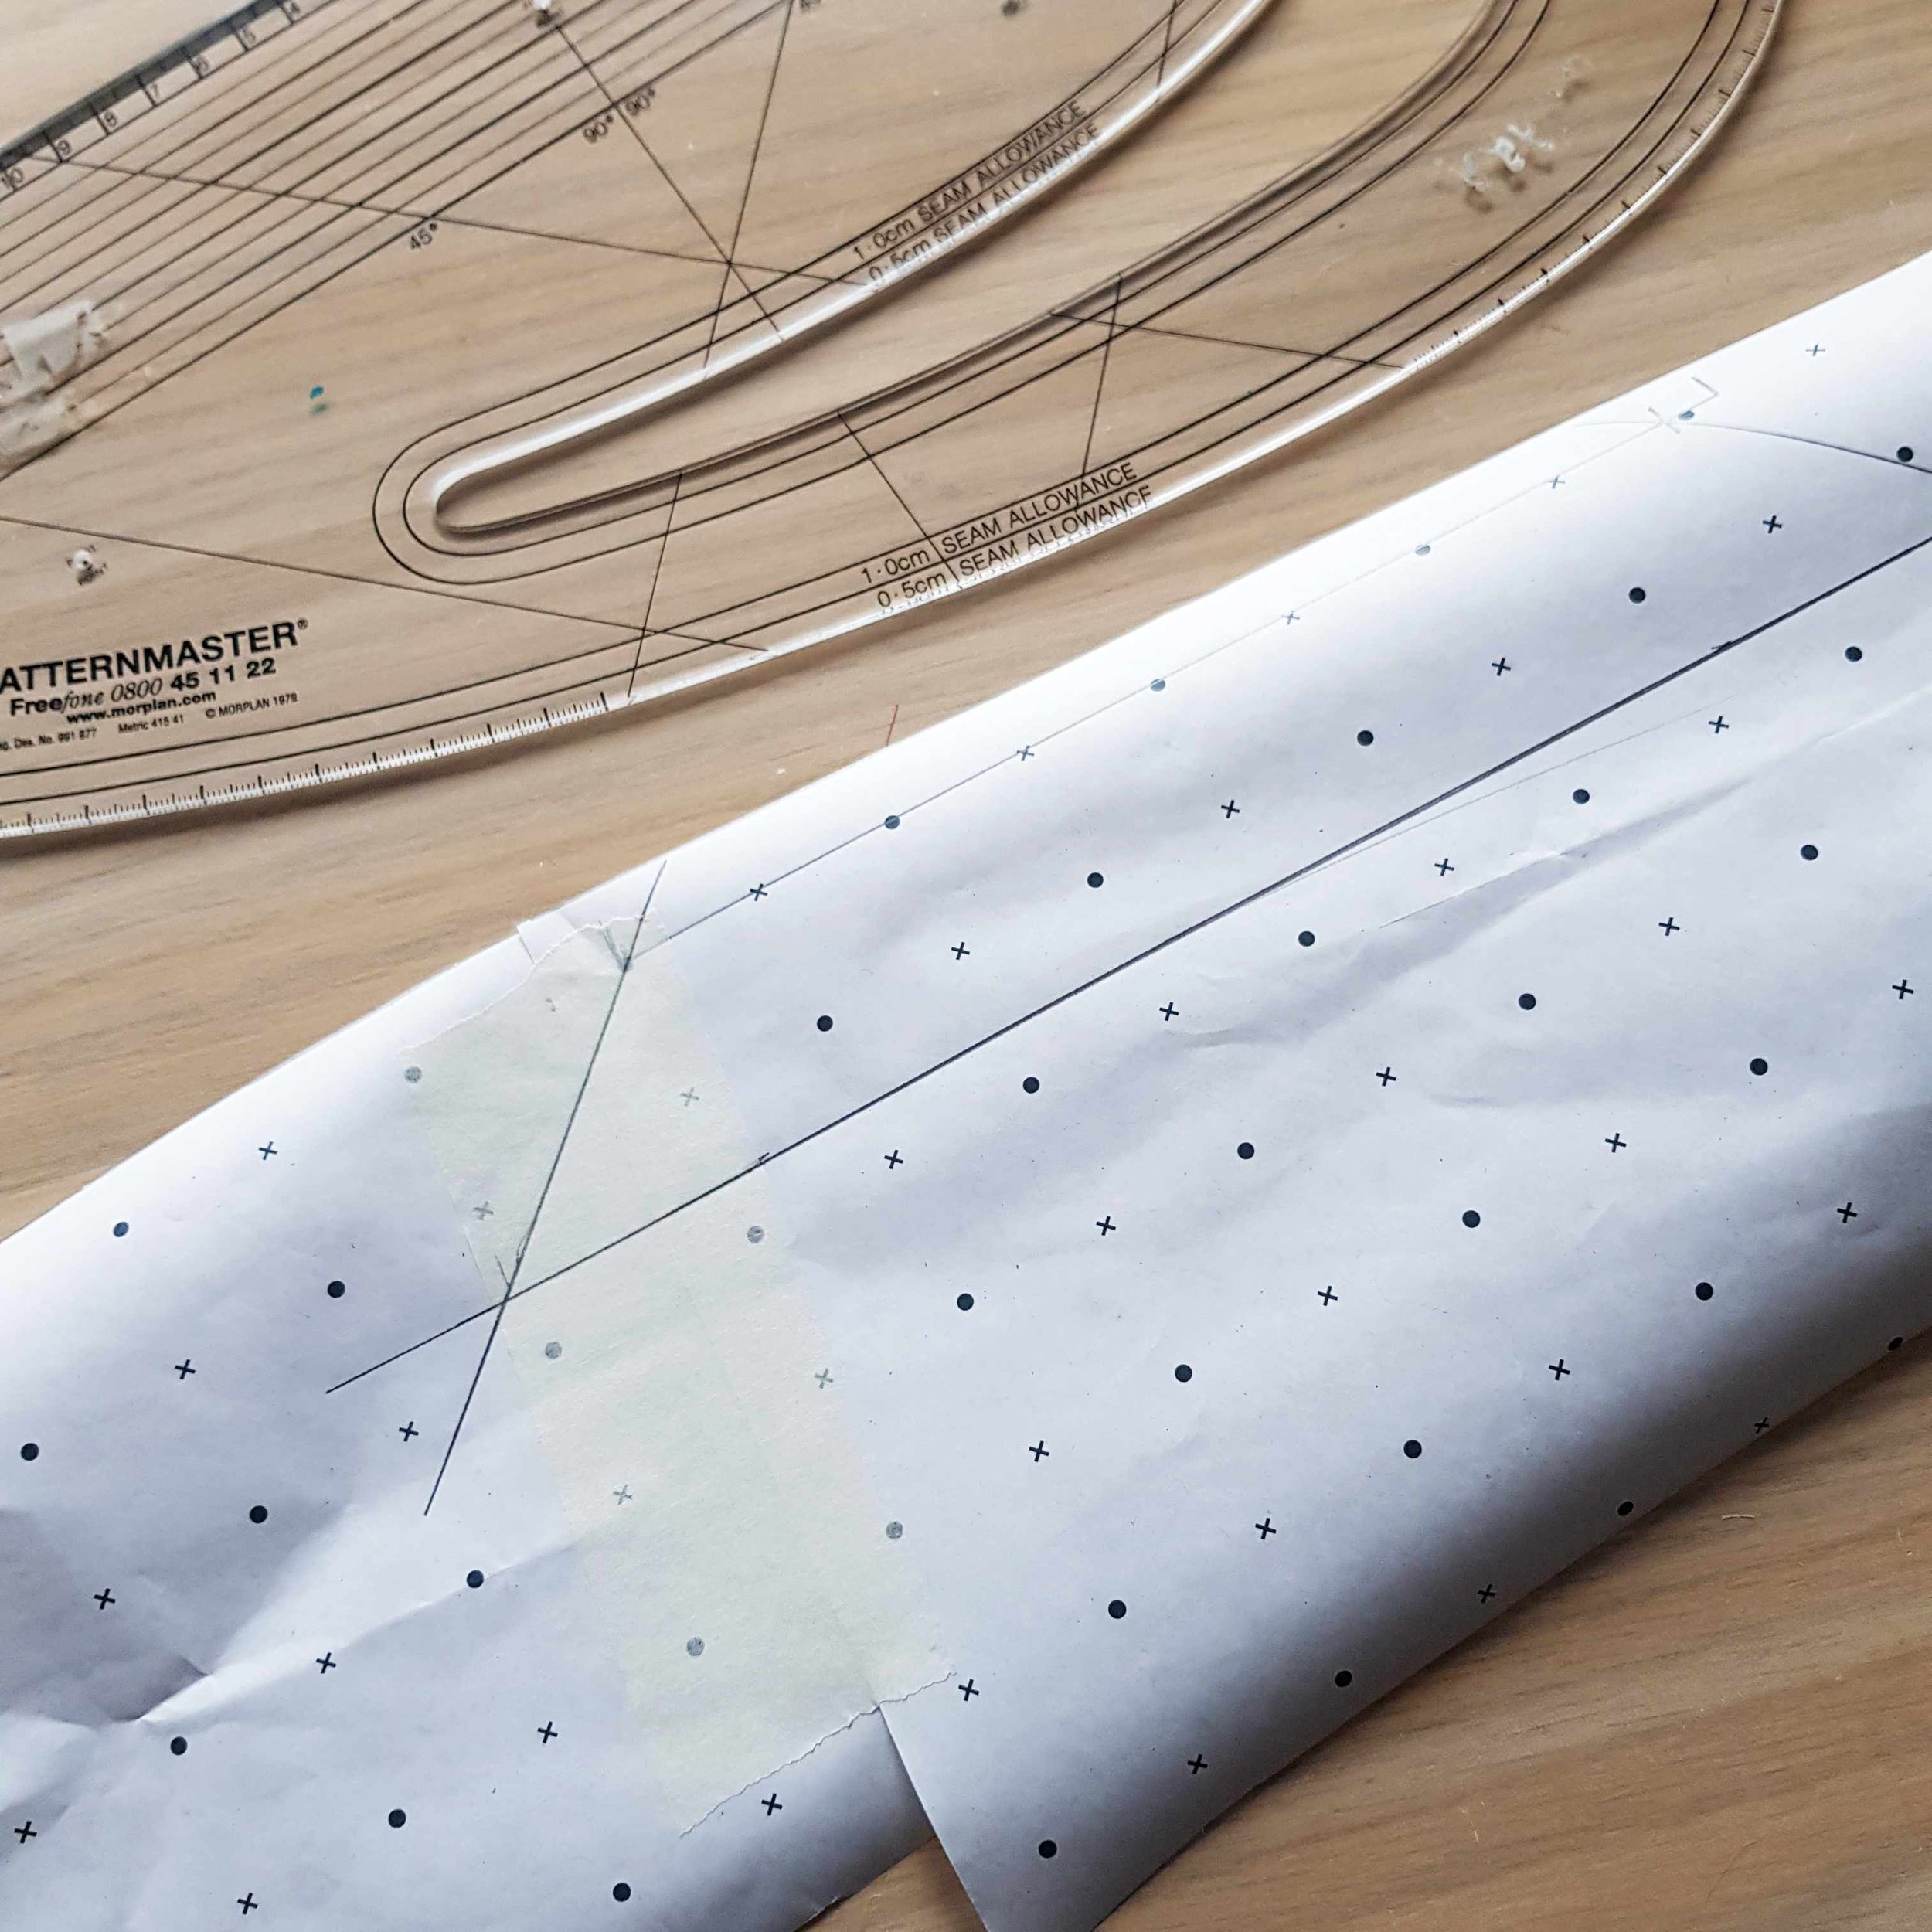
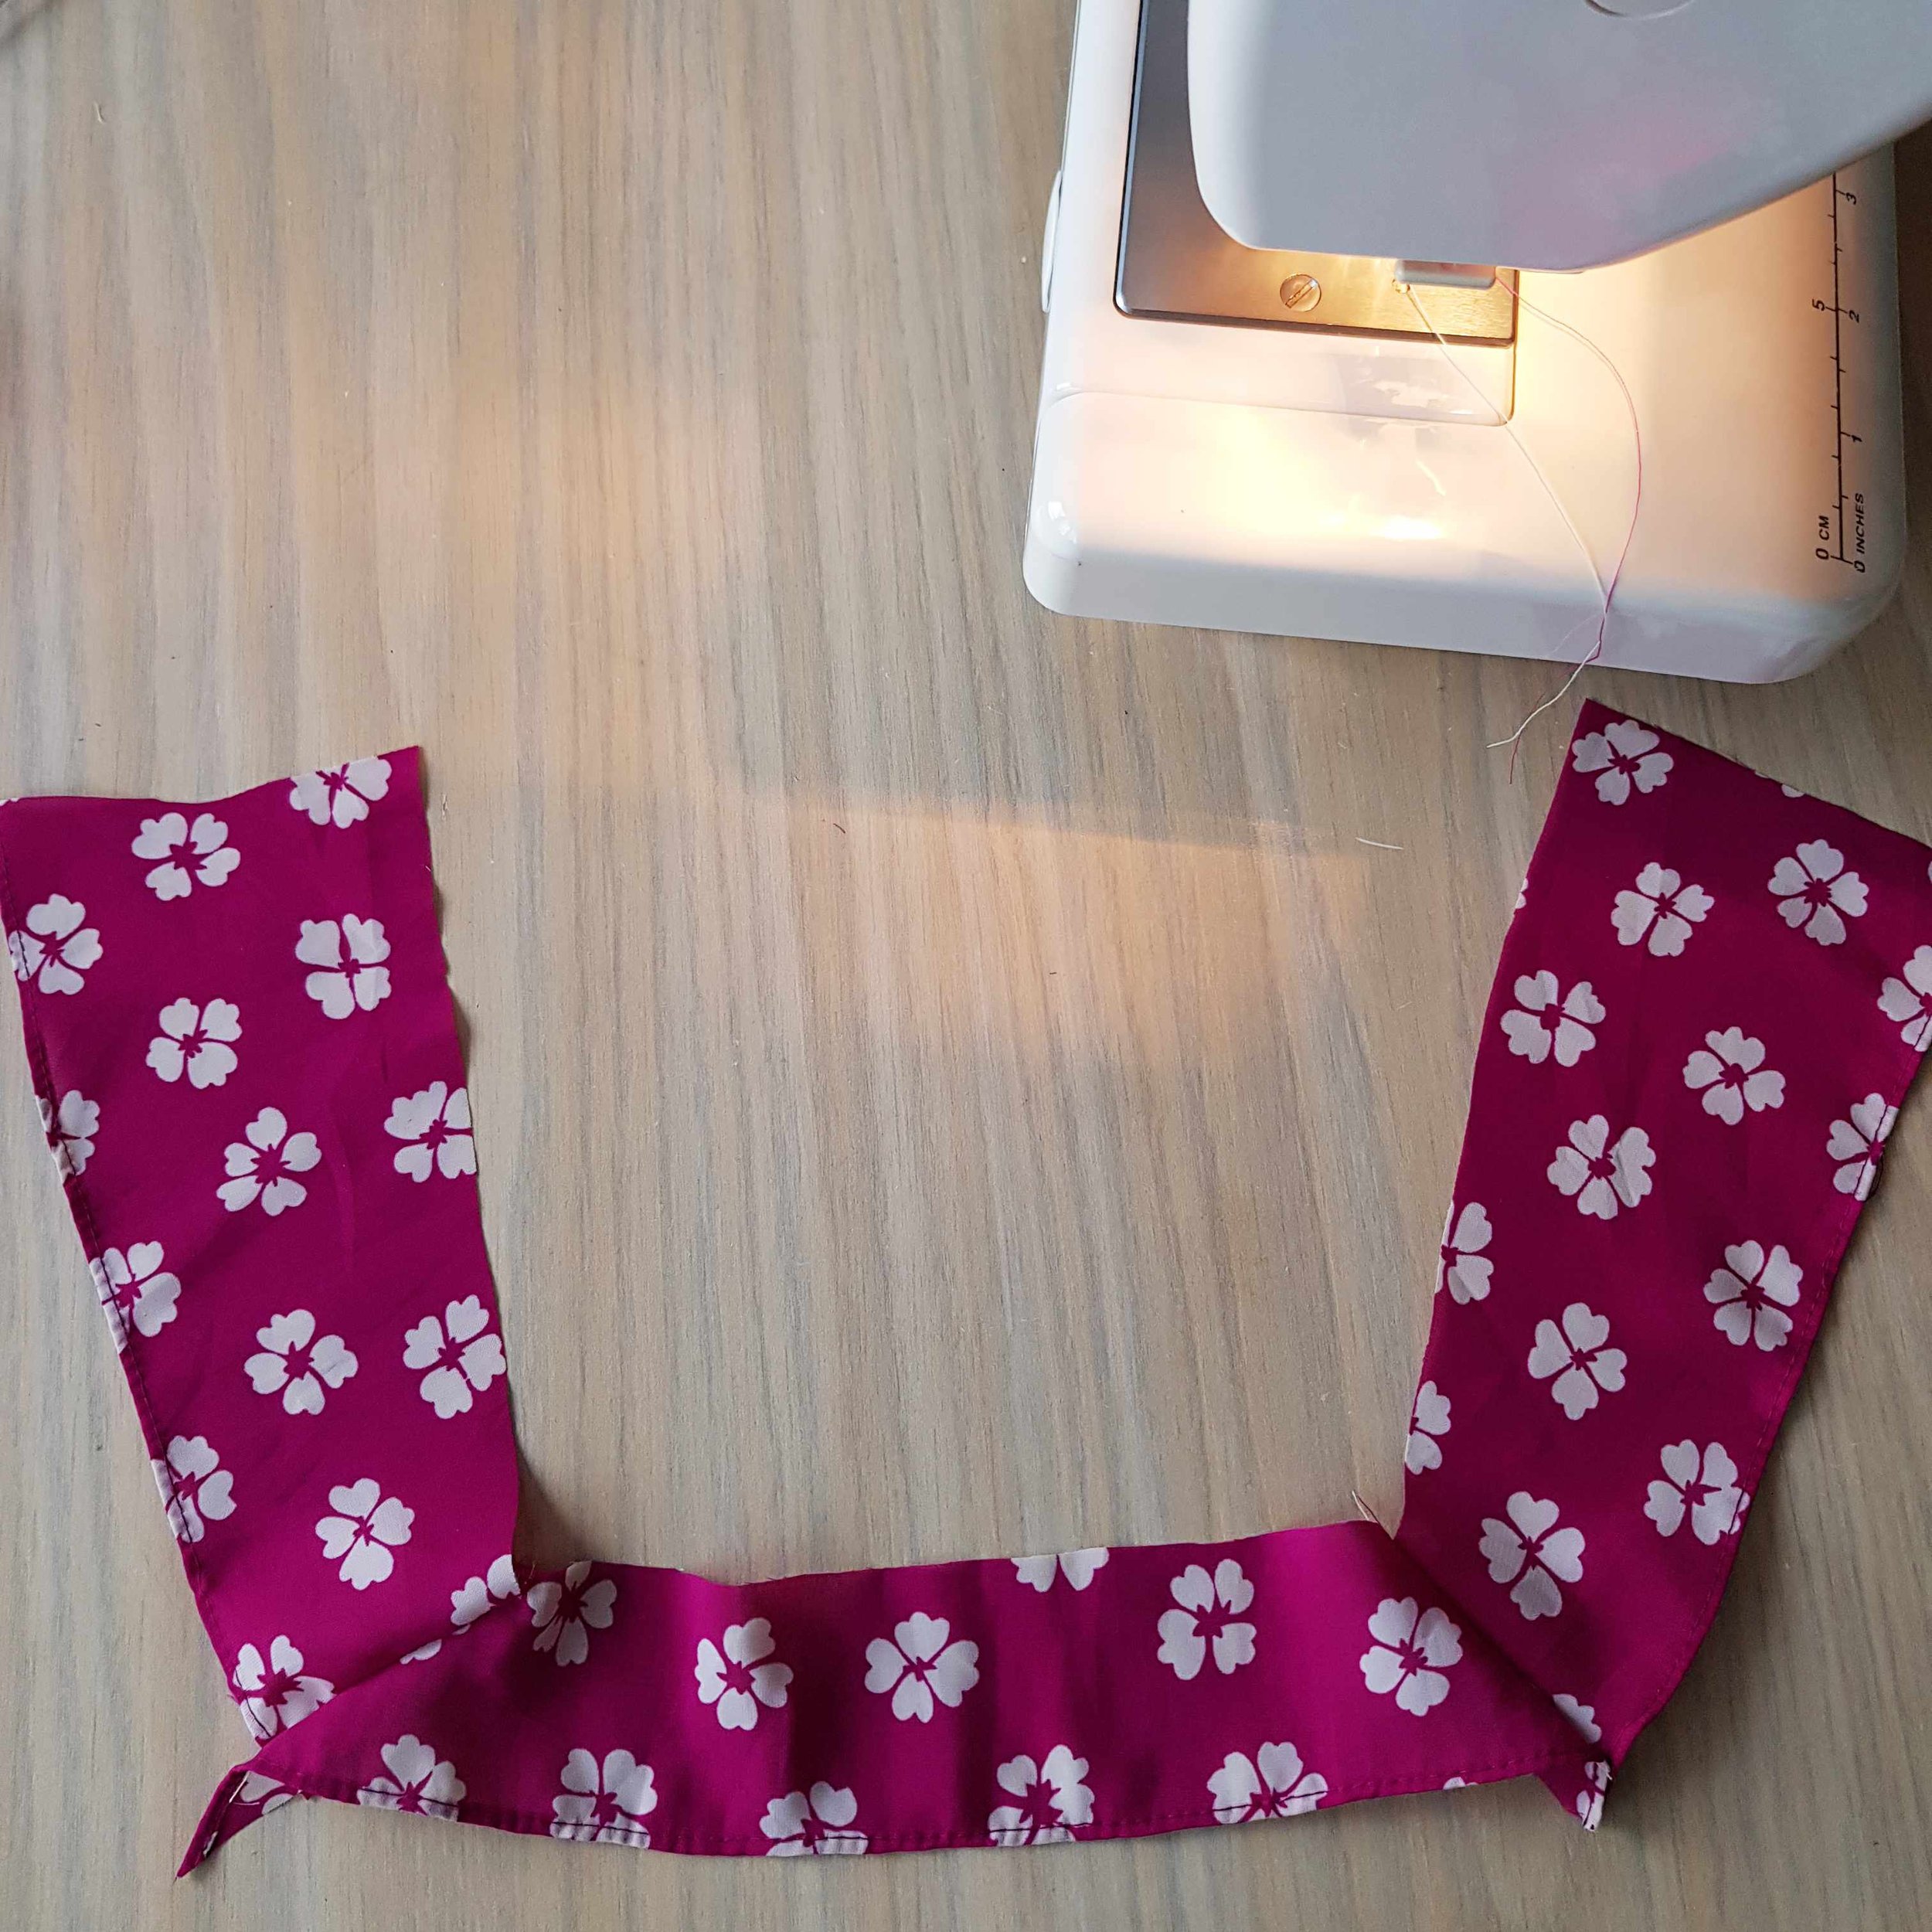
However, it’s not so simple just cutting out a neckline. I had to then create new pattern pieces to finish the neckline edge since the fabric was totally raw and fraying all over the place!!
I decided to shorten the dress slightly, and used the fabric I had cut off, to create the ‘facing’. It was only for the front as I didn’t mess around with the back at all, and simply joined the shoulder seams to the existing back facing.
Facing is a small piece of fabric, separate or a part of the fabric itself, used to finish the fabric edges. Facing makes a garment look professionally finished with the seams well hidden inside the folds of the facing.
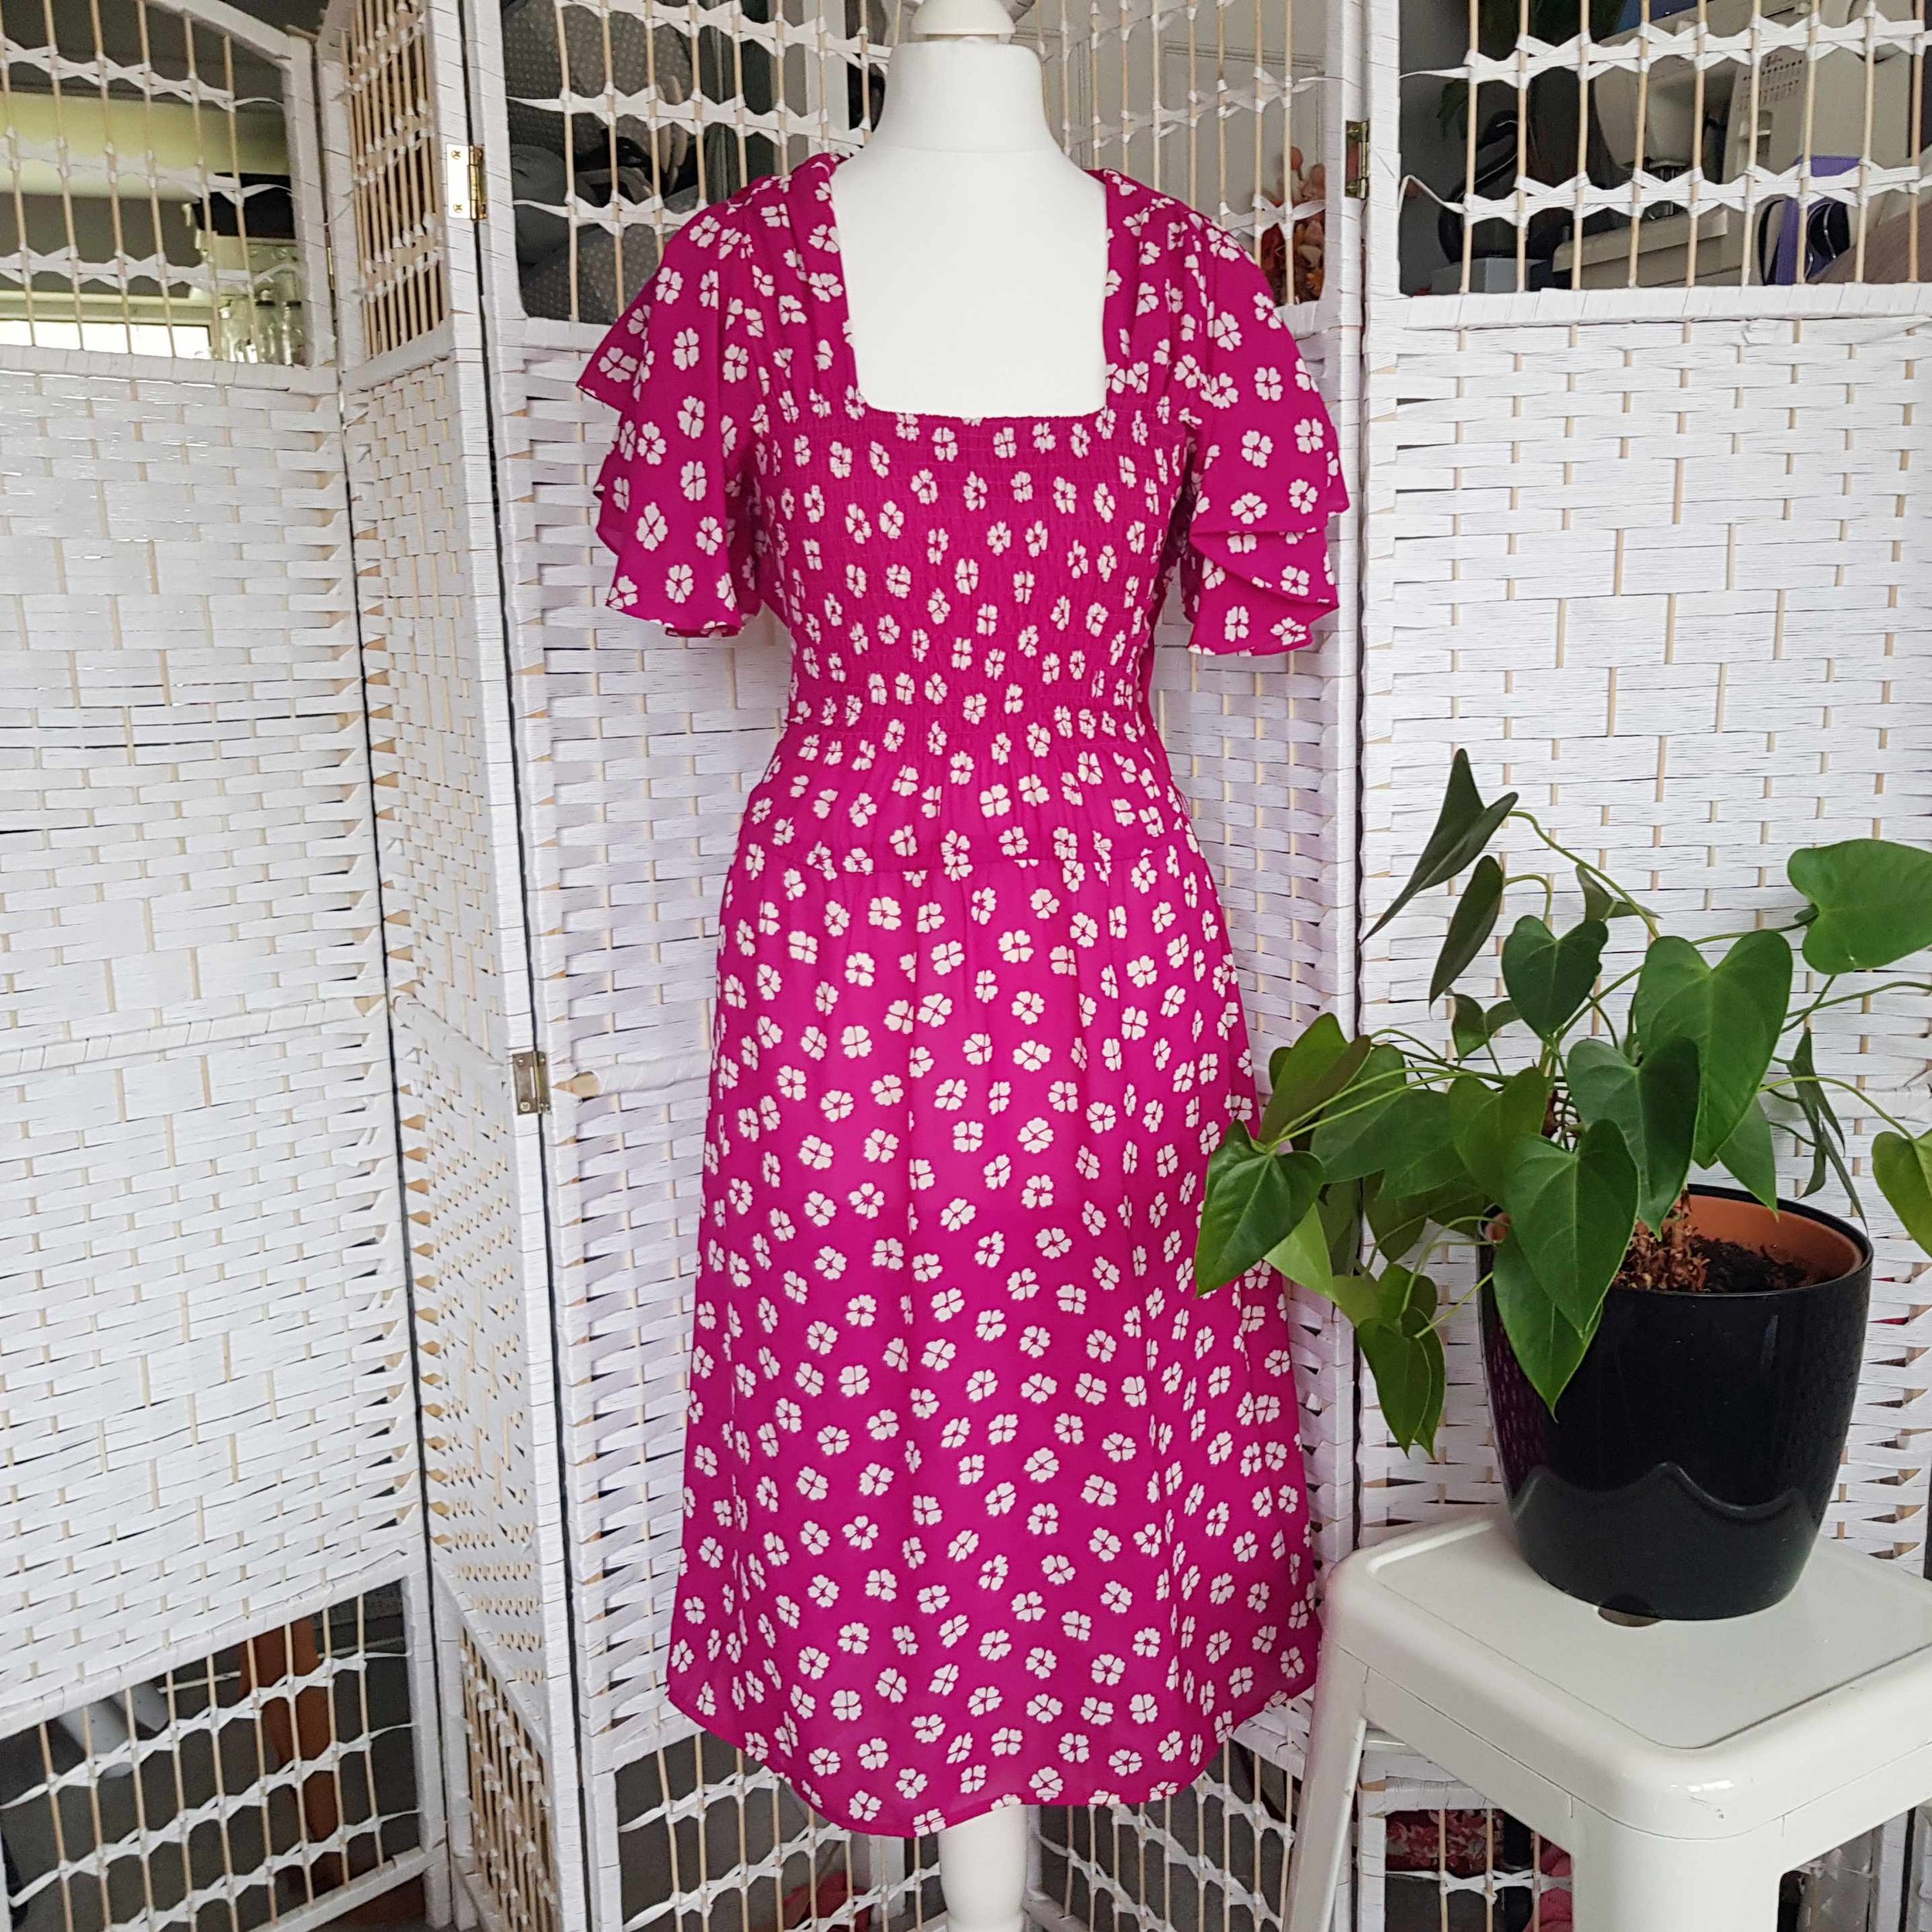
the results
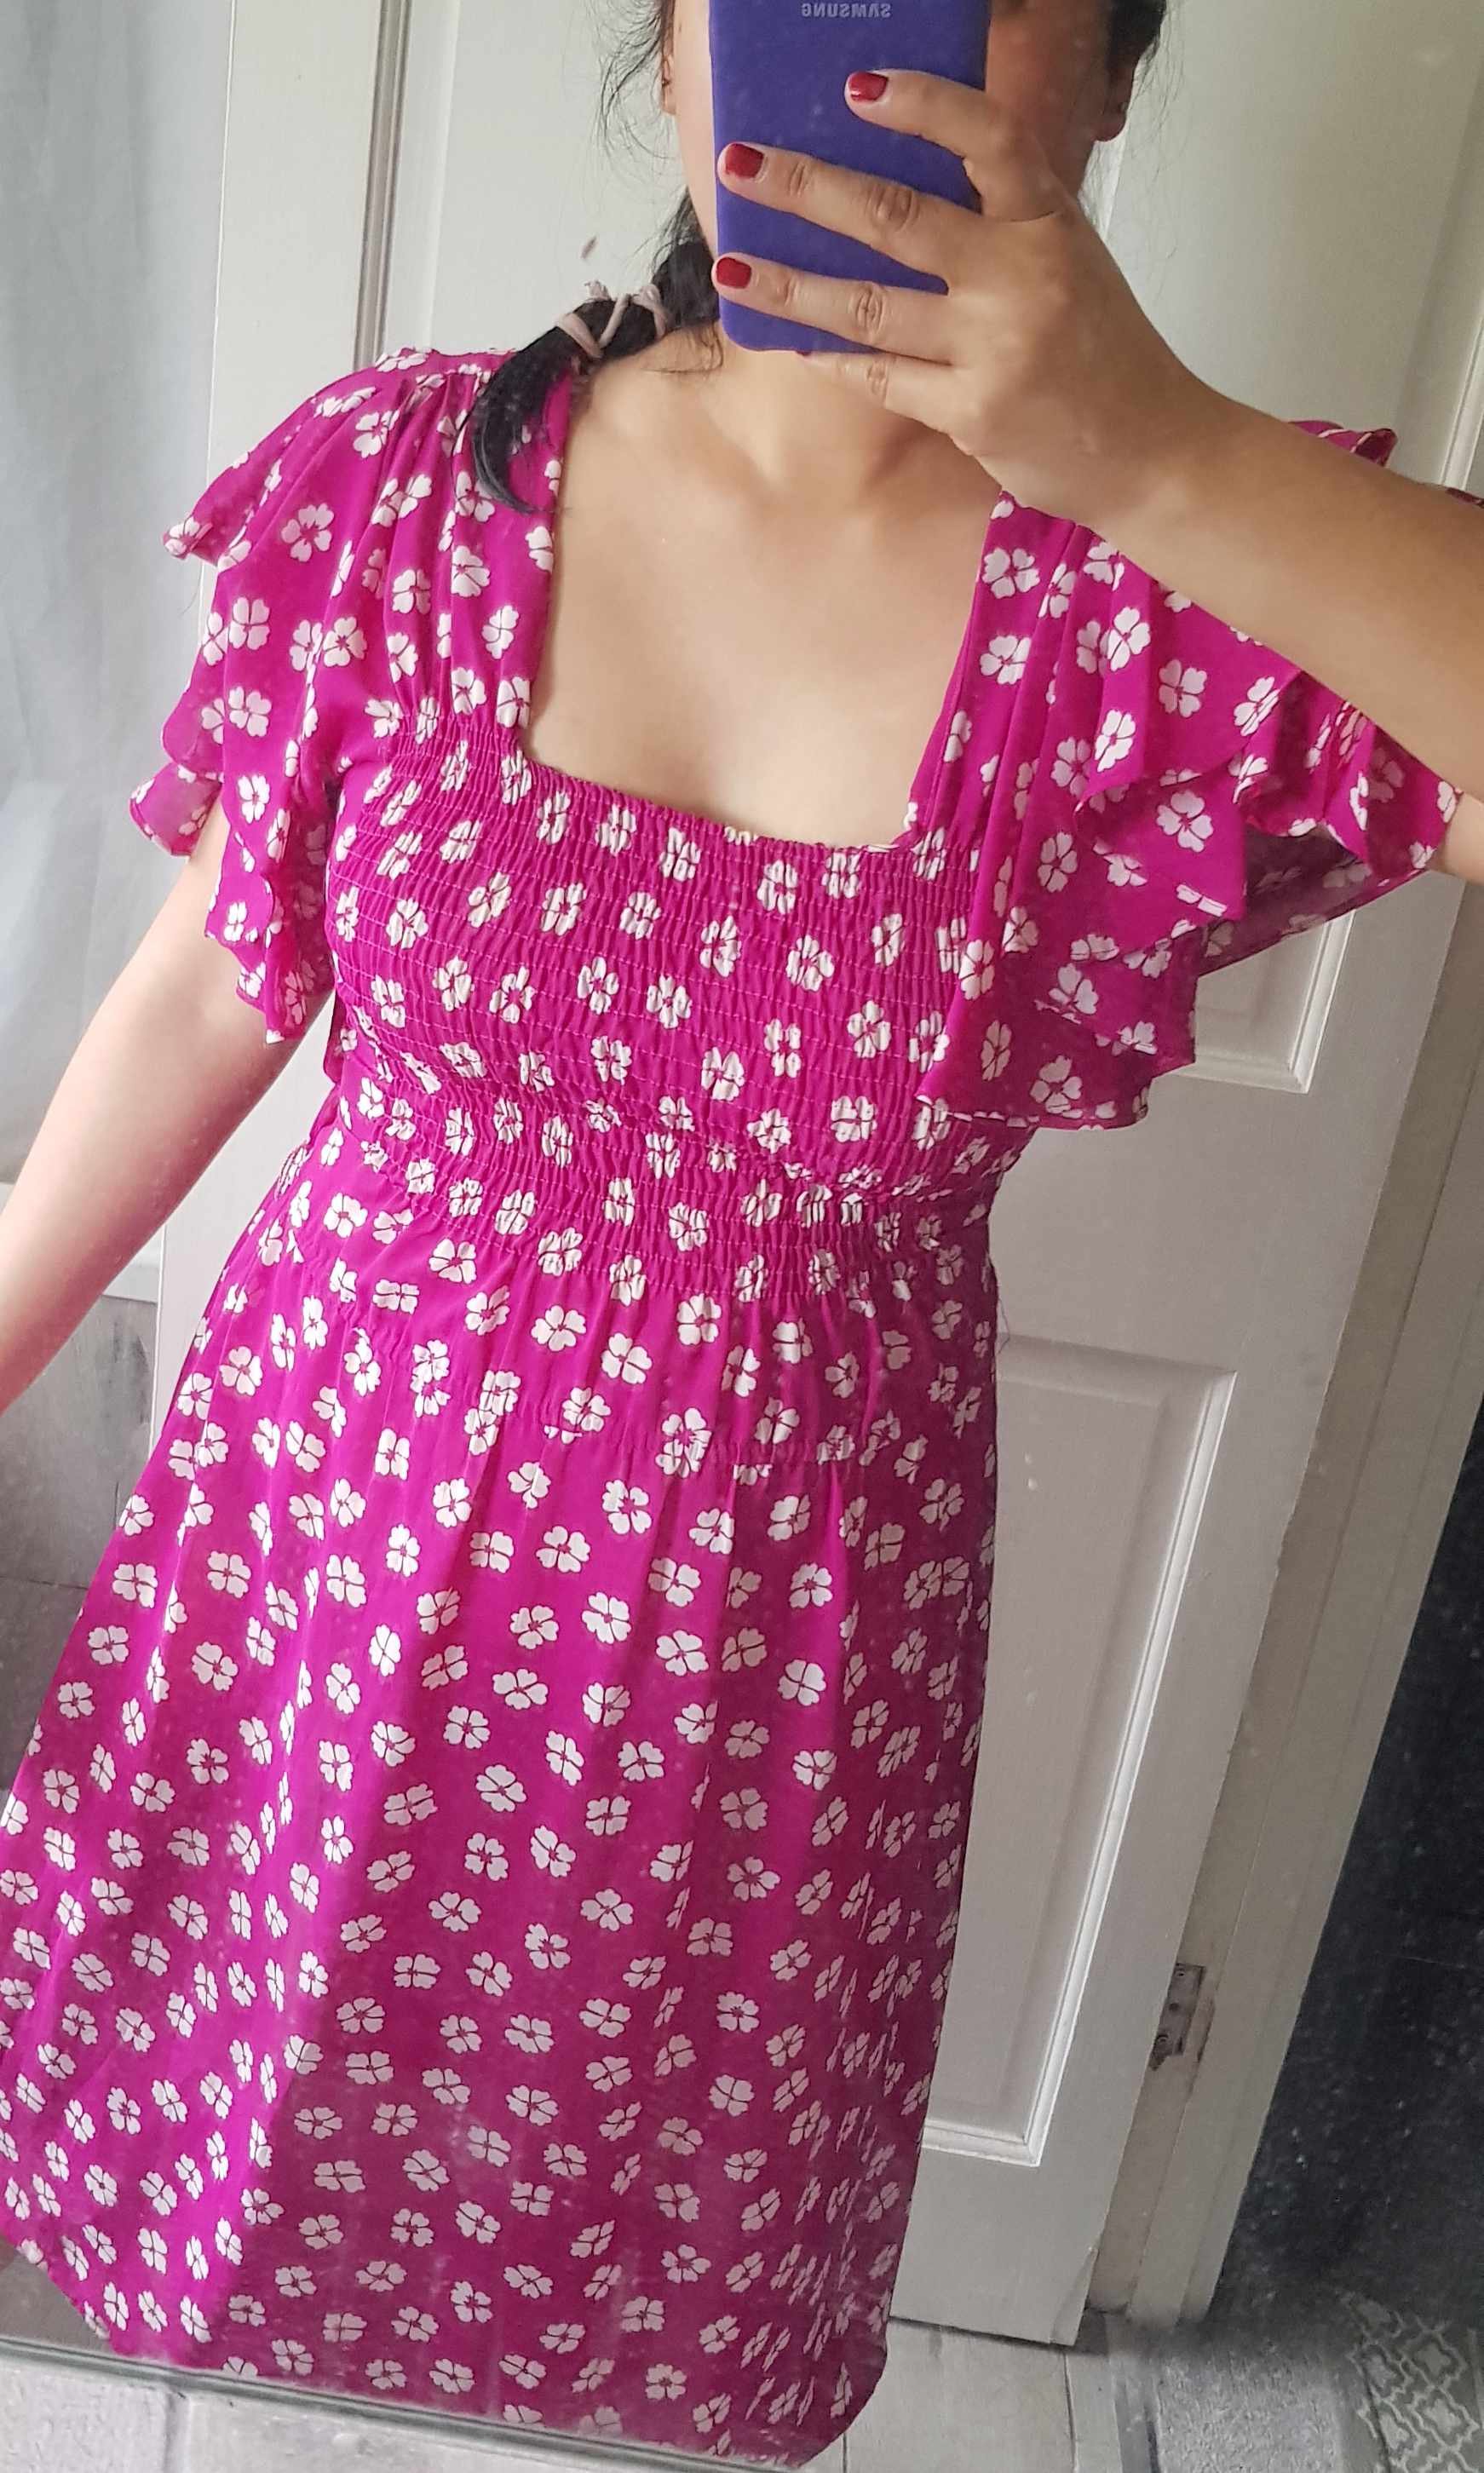
I actually had plans on totally changing the sleeves too, which I really didn’t want to as the construction of them was amazing and felt that it made this dress what it is. But when I had tried the dress on post-shirring, it pulled everything in and the sleeves no longer moved around on my shoulders… it just ended up being a really great fit!
I am wondering if I should make it a mini dress - but it may be partly because I’m not used to wearing so much of a bright colour!
Nevertheless, I’m super happy with my amendments and look forward to wearing it on holiday!

